Setting Up
1. Download the Shesha Starter Template:
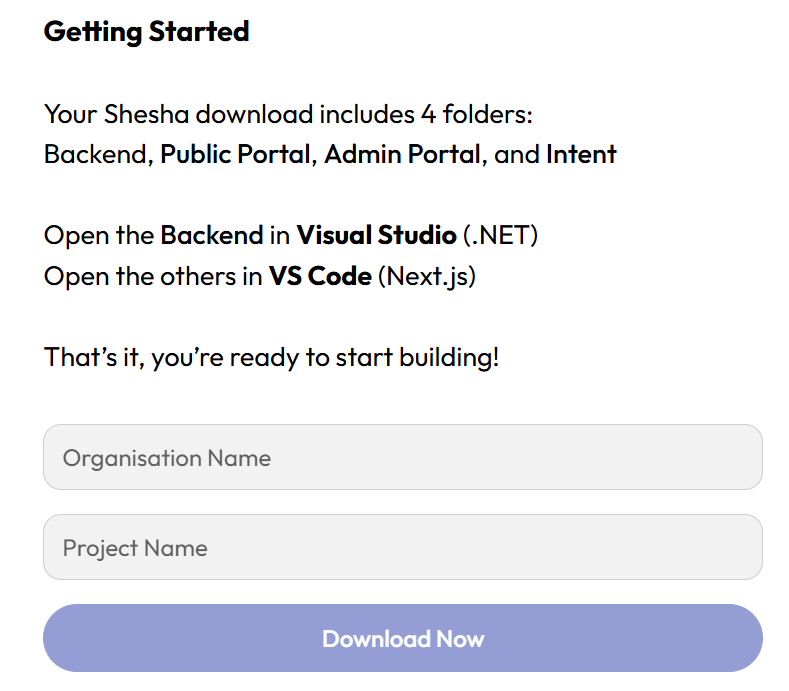
- To get started, click the Try Shesha button at the top of the page.
- Customize the Namespace of the starter project by providing parameters. It is important to note that there should be no spacing in both the inputs. For example:
- Company Name:
Shesha - Project Name:
Membership
- Company Name:
- The Namespace of the solution will start with
Shesha.Membership.
- Unzip the folder generated to your preferred destination.
- The zip file includes:
- Adminportal (Frontend): A React.js solution for the front end
- Backend: An ASP.NET Core solution for the backend
- Database: A seeded SQL database with sample data
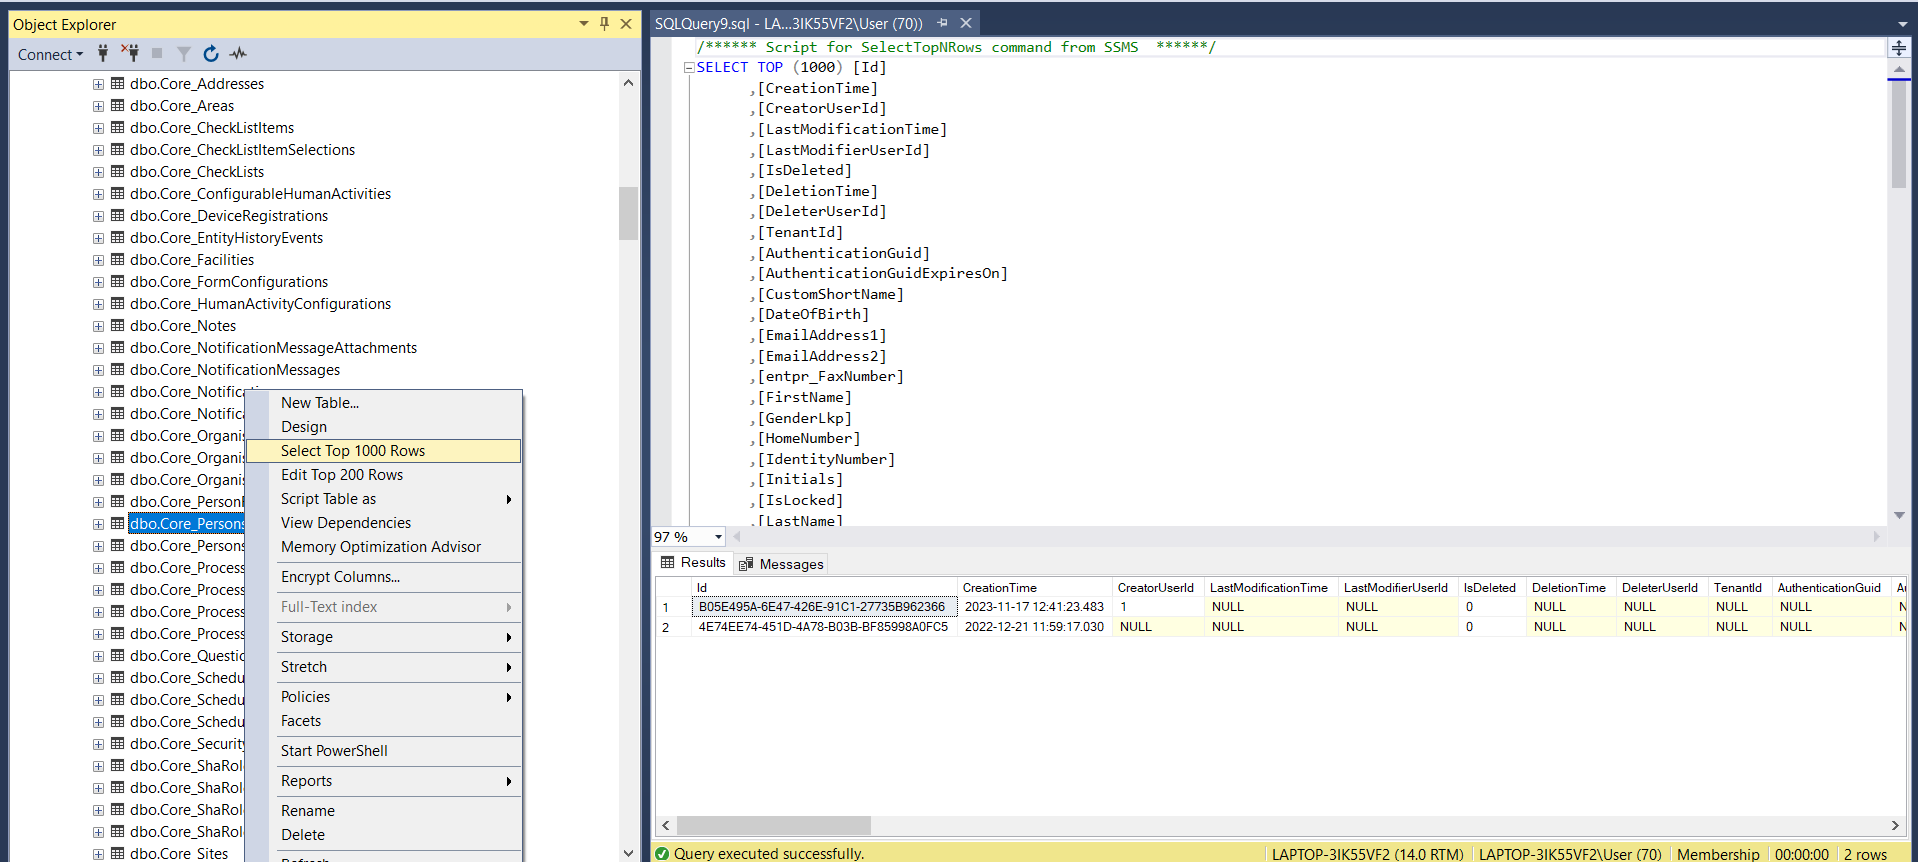
2. Setup the Database (SQL Server Management Studio) - From a .bacpac file:
- Open
Microsoft SQL Server Management Studio - Connect to a server i.e localhost
- Right-click
Databases - Select
Import Data-tier Application...and then click Next - Click Browse, locate your
Membership.bacpacfile, and click Next - In the
New databasename field, typeMembershipand click Next - Click
Finishin the Summary step - Verify the successful import by navigating to the generated
database > Tables > dbo.Core_Personsand querying the top 1000 rows.
3. Setup the Backend (Visual Studio):
- Open the starter project folder
- Navigate to the backend folder and open it
- Double click the
Shesha.Membership.slnsolution (or your project name) with Visual Studio 2022 - Connect the database to the backend and run the solution:
- If your database is not named 'Membership' in SQL, in
Shesha.Membership.Web.Hostupdateappsettings.jsonwith your database connection string. - Run your application by selecting
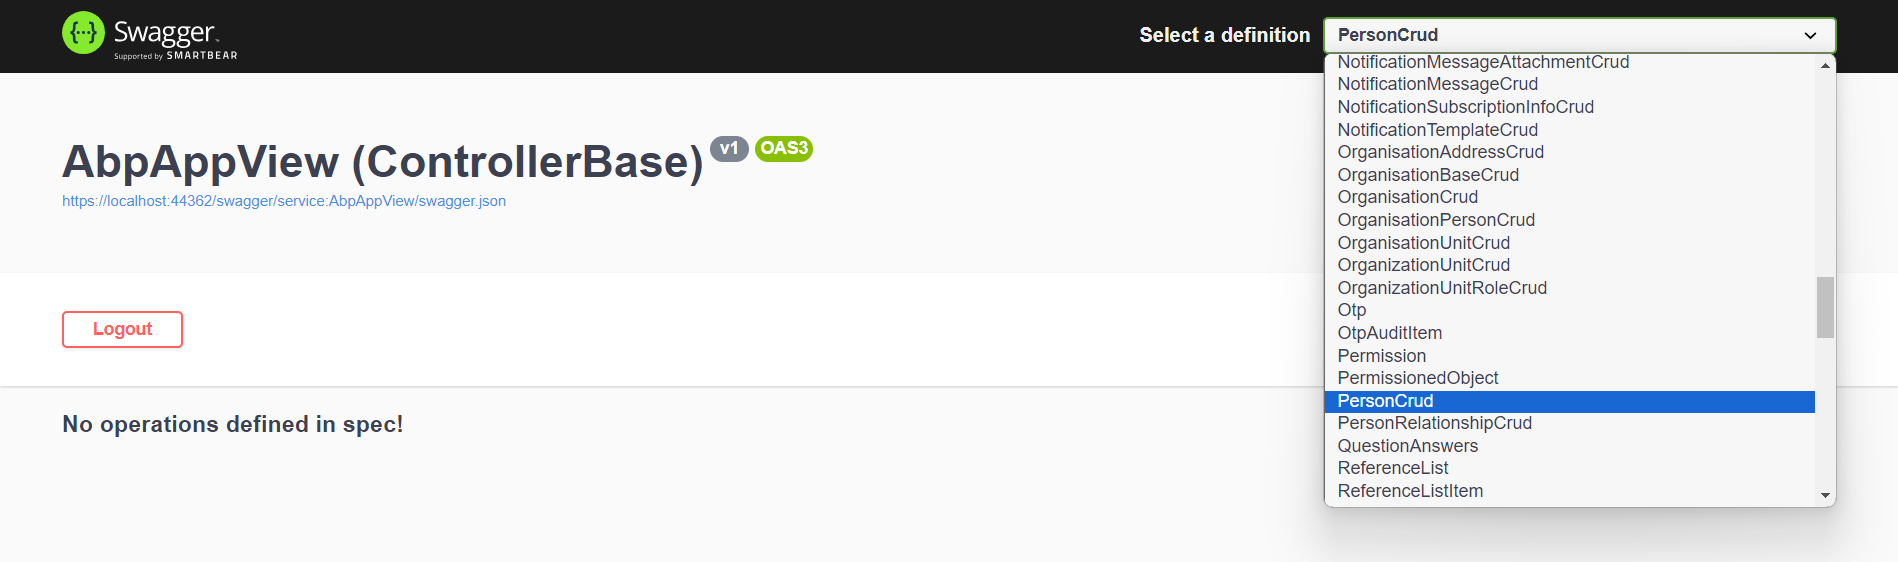
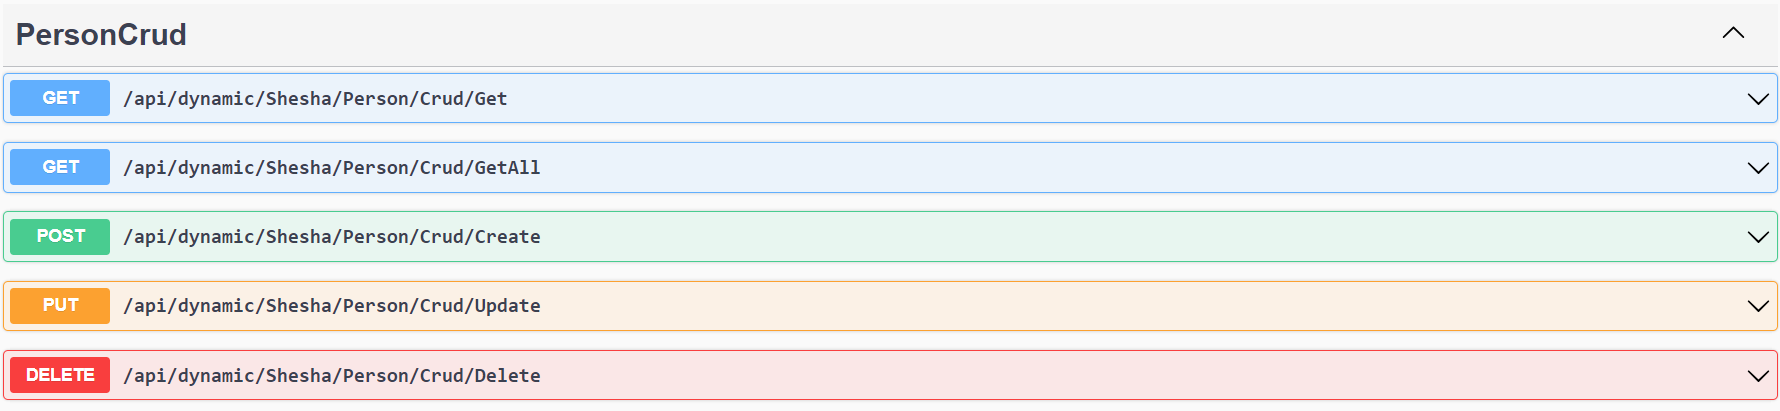
Debug > Start Debuggingor by clickingF5 - The application should open in your browser on the default Swagger API page.
- If your database is not named 'Membership' in SQL, in
4. Setup the Frontend (Visual Studio Code):
- Open Microsoft Visual Studio Code
- Navigate to
File > Open Folderand open the adminportal folder from your downloaded starter project - Open a new terminal by going to
Terminal > New Terminal - Check if you have Node.js version
20.11.1installed by runningnode -v - Install node_modules by running
npm iin the terminal - Run your frontend application by typing
npm run devin your terminal - To login to the admin portal, use the username
adminand password123qwe - Once logged in, you have your first Shesha application running successfully.
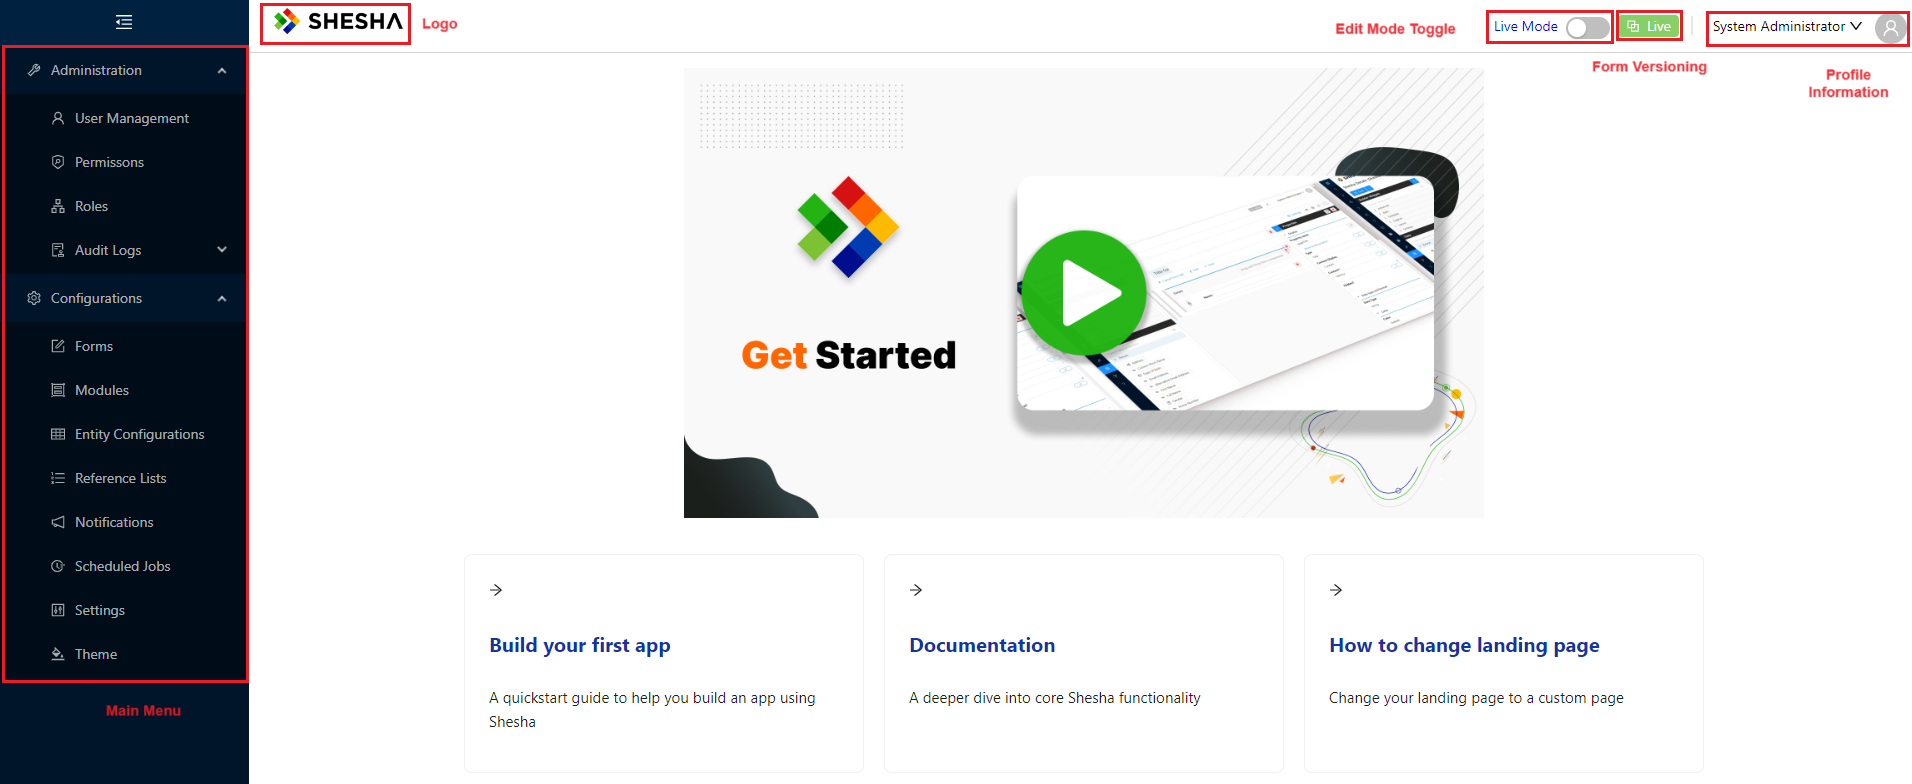
- The home page should look like the following: