Initializing a Dialog With Edit Properties
Sometimes the user wants to edit a single row in a table without drilling all the way down to its details view. Shesha lets you add an inline Edit action column to the table that opens a pre-populated dialog seeded with the row's data. This guide walks through wiring up that action - adding the column, configuring the dialog, passing the row Id in, and refreshing the table on success.
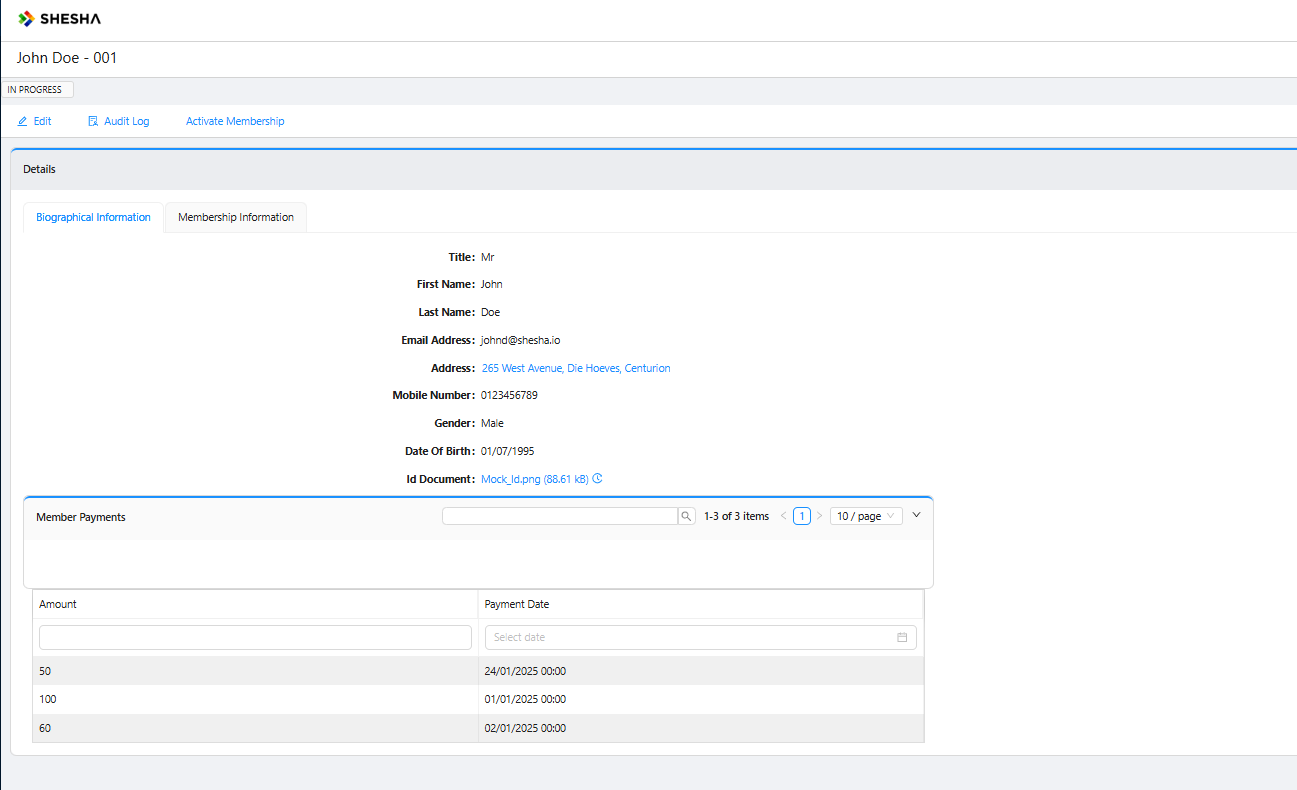
1. Open the Form and Configure the Table Columns
Navigate to the form in the designer:
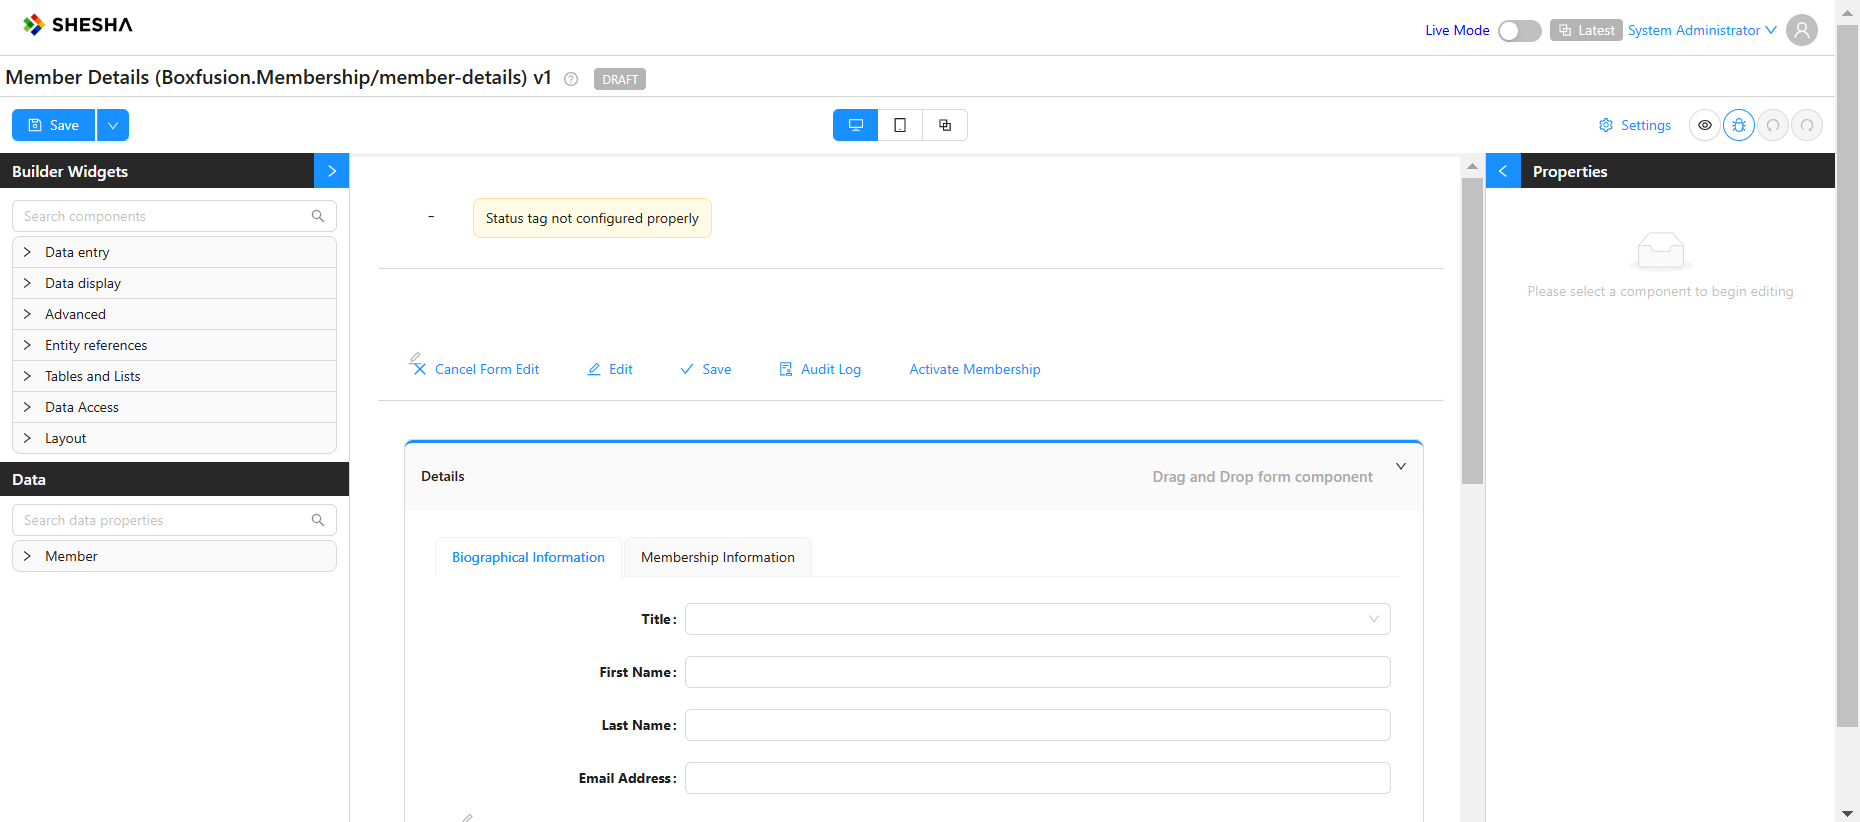
Select the data table component and click Configure Columns under its properties.

2. Add an Action Column
Add a new column and move it to the top of the list:
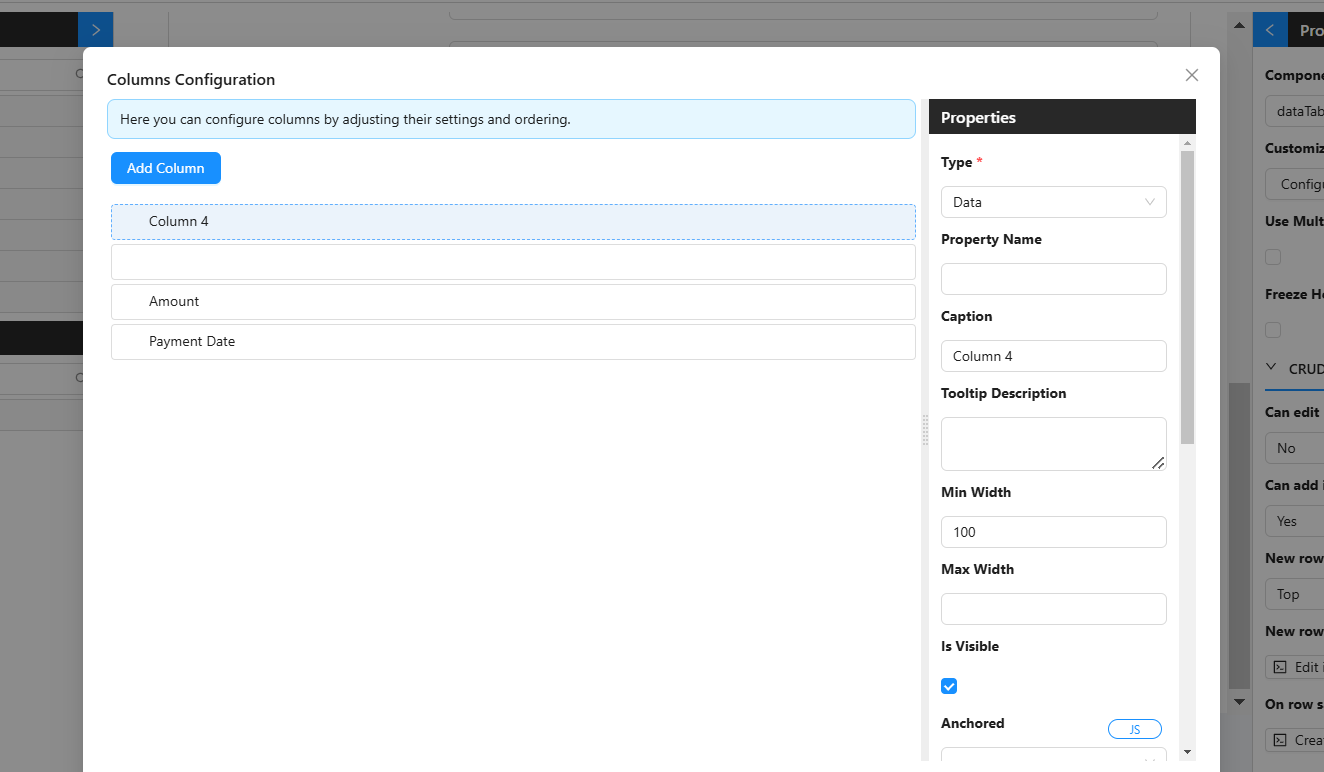
Configure the column:
- Set Type to Action.
- Clear the column caption (so the column shows just the icon).
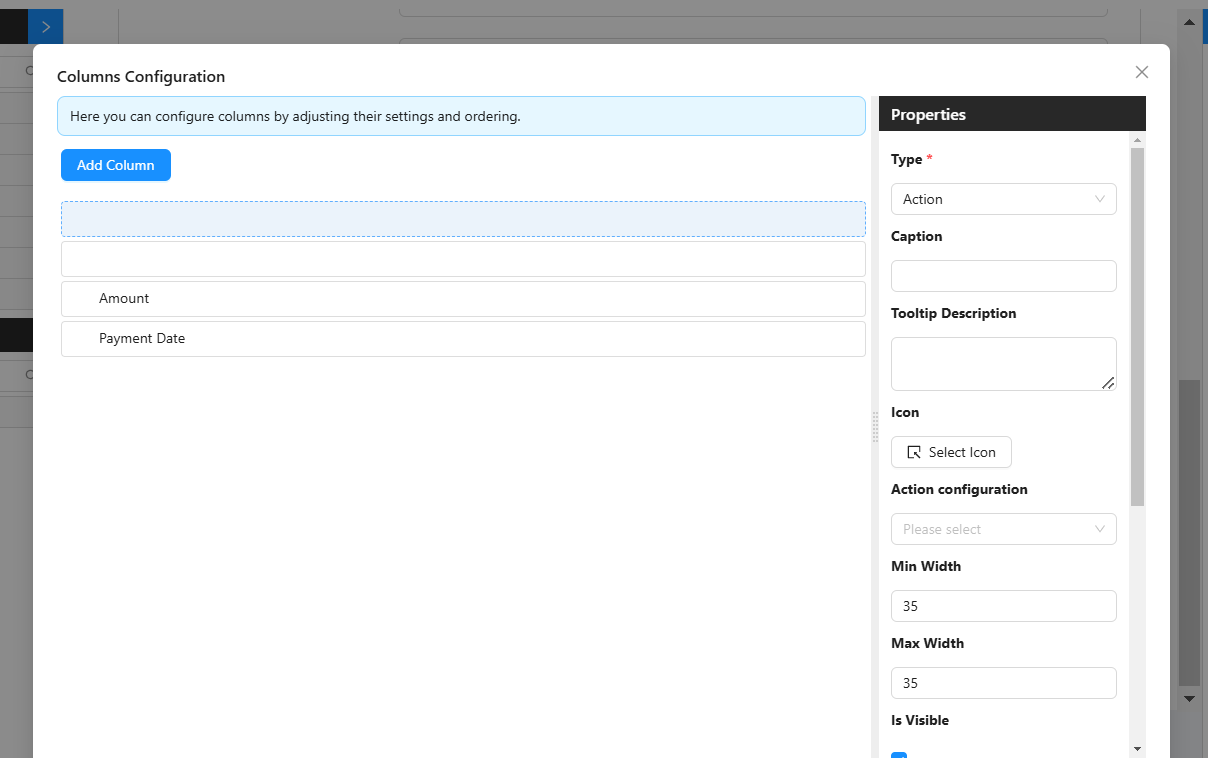
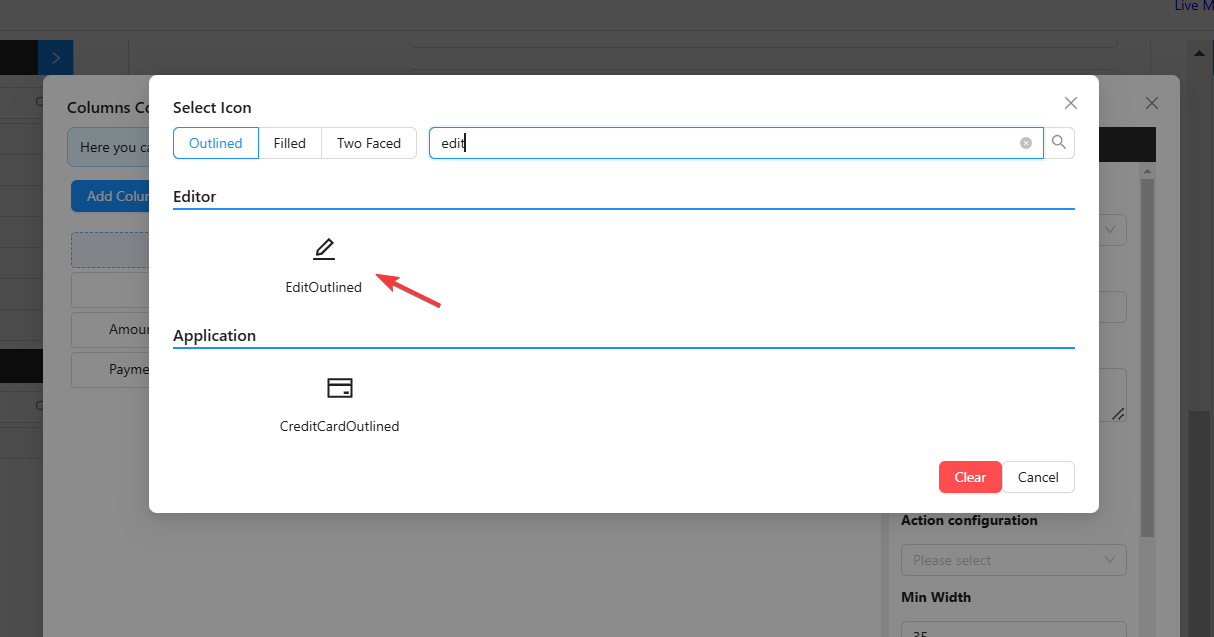
Click Select Icon to choose an icon. Search for Edit and pick EditOutlined.
3. Configure the Show Dialog Action
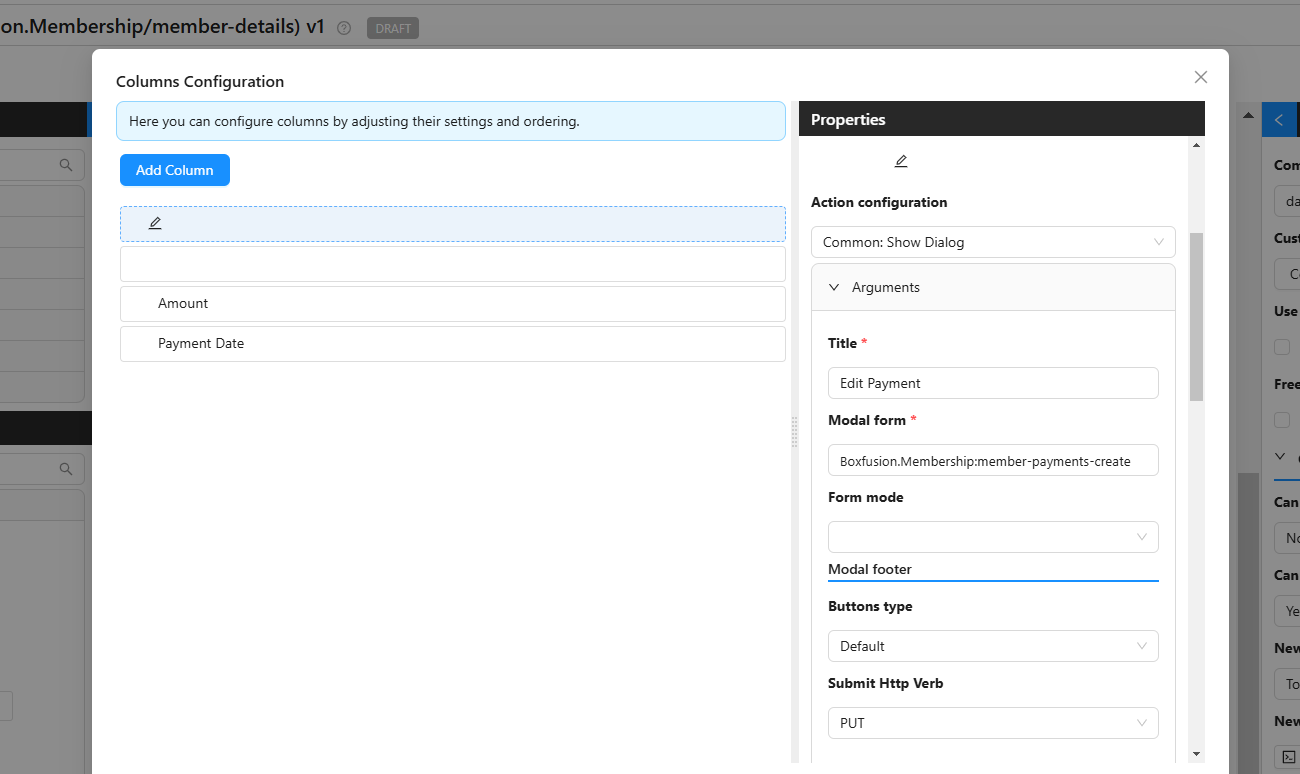
Set the column's Action Configuration to Show Dialog, with:
- Title:
Edit Payment - Modal form: the Membership Payment form
- Submit HTTP Verb:
PUT
4. Pass the Selected Row's Id Into the Dialog
The dialog needs to know which record it is editing. Pass the Id through the Additional Properties section.
Click Click to Add Items:
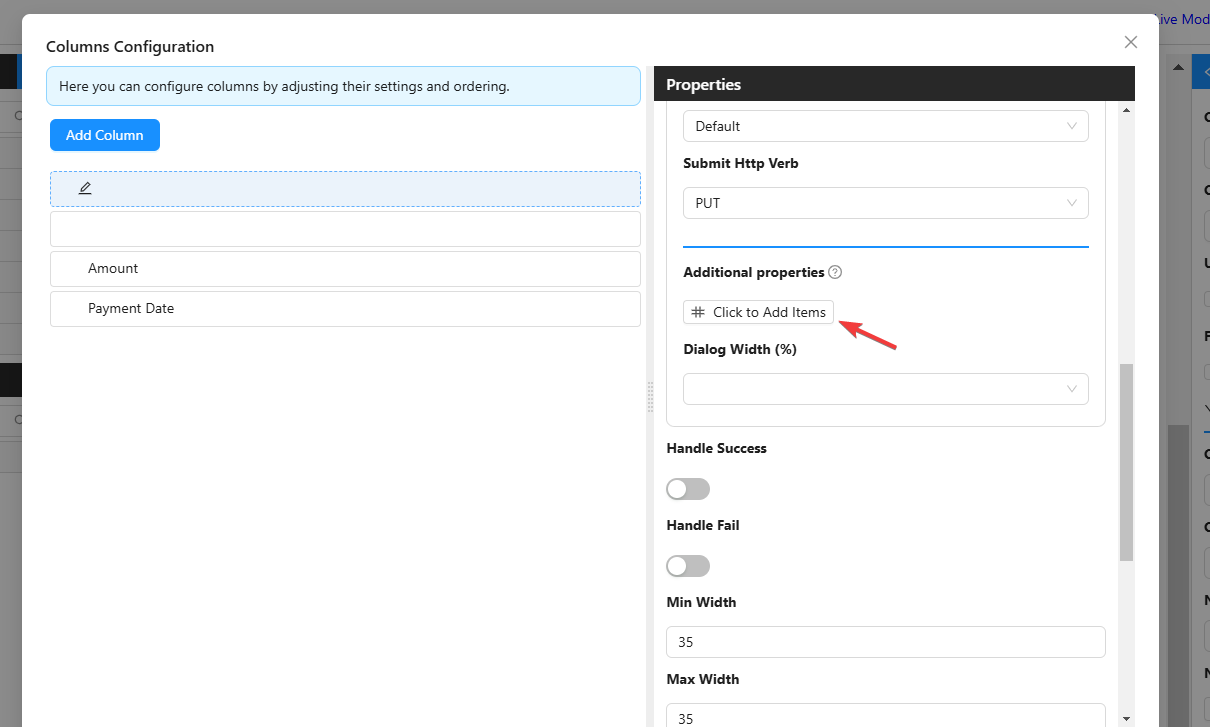
Add a new key/value pair:
- Key:
id - Value:
{{selectedRow.id}}
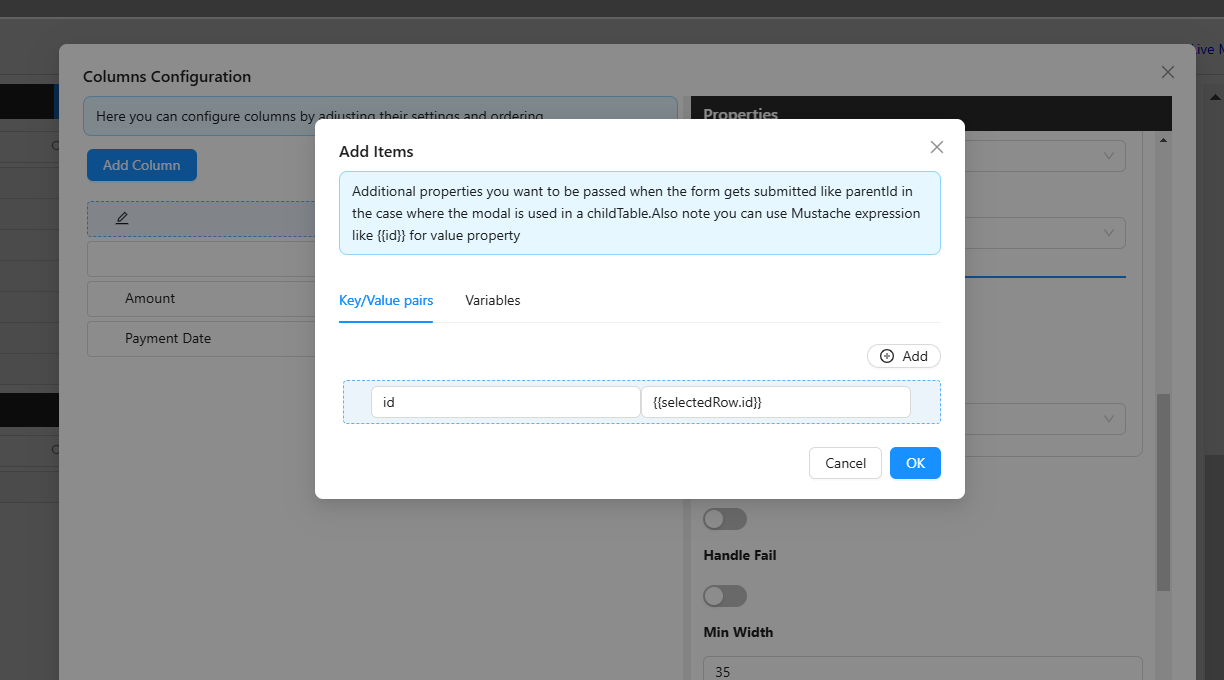
selectedRow is the data of the row whose Edit button was clicked. The {{ ... }} syntax substitutes the value into the dialog's arguments when the action fires.
5. Refresh the Table on Success
Toggle Handle Success to true and set its action to Form: Refresh. This causes the table to re-fetch its data once the edit is saved, so the user immediately sees the updated row.
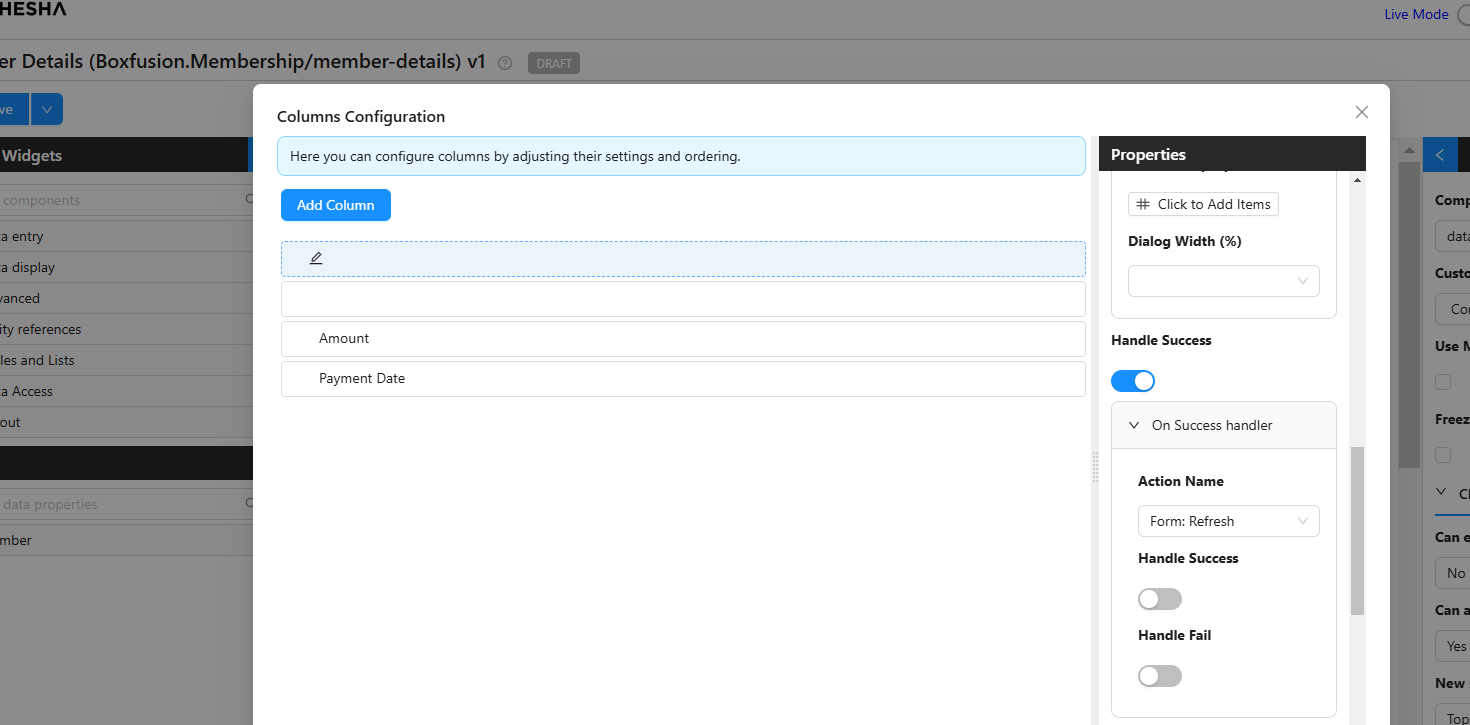
Save the column configuration and save the form.
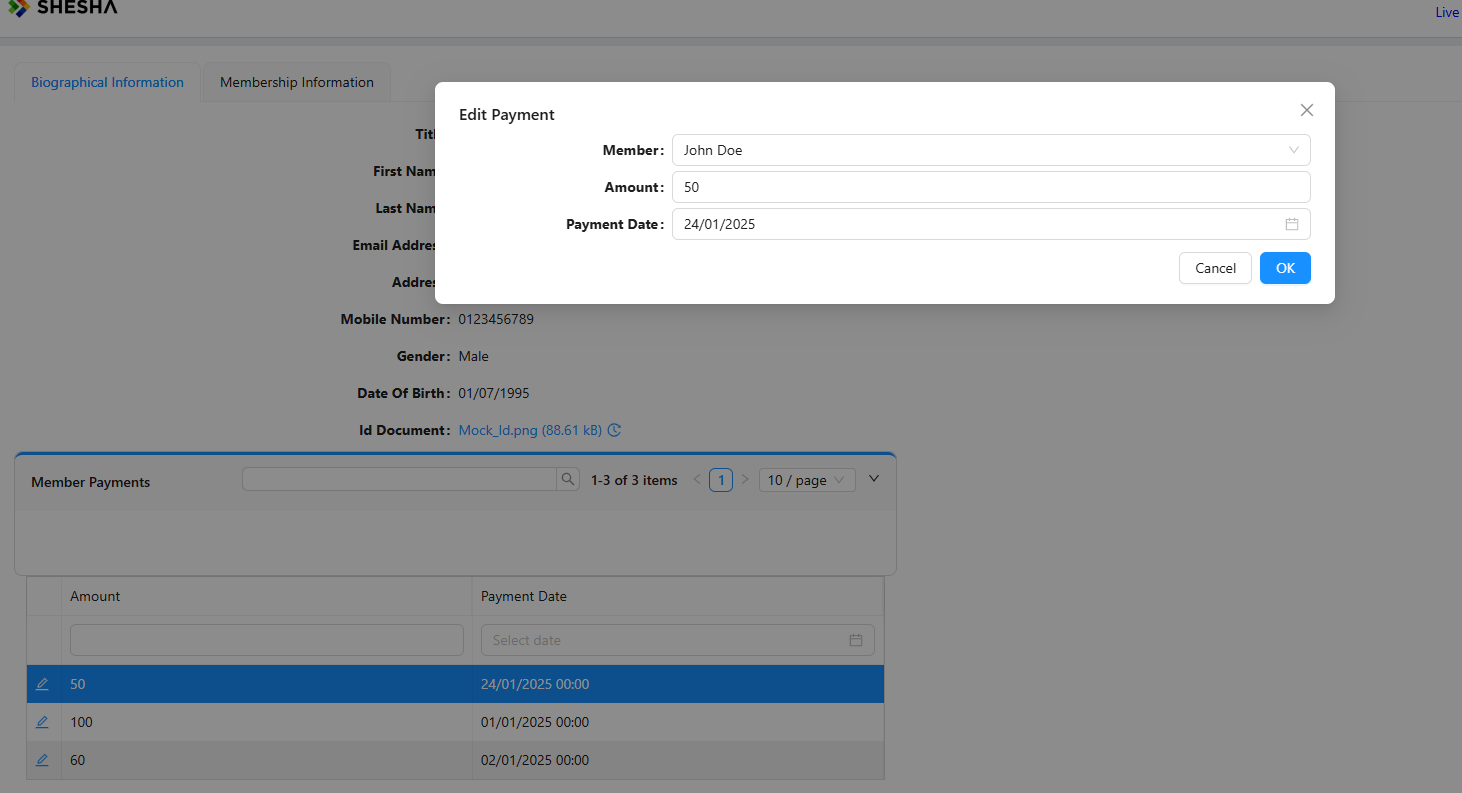
6. Try It
Click the new Edit icon on any row. The dialog opens pre-populated with that row's data, and any changes are saved and reflected back in the table.