Mac OS / Linux Setup
This guide walks you through getting a Shesha application running on Mac OS or Linux. Because Visual Studio is not supported on these operating systems, you run the backend with the .NET CLI and host SQL Server in Docker. By the end of the guide you will have the starter project's backend, frontend, and seeded database all running locally.
If you are on Windows, follow Setting Up instead.
- Git - for cloning repositories.
- Docker - to run Microsoft SQL Server in a container.
- .NET 8 SDK and Runtime - for the backend and for SQL-Package.
- Node.js 22 - for the frontend.
- SQL-Package - to import the starter database from a
.bacpacfile. - Visual Studio Code (or an AI-infused fork) - the recommended editor for both frontend and backend code.
- Database Client extension for VS Code - to connect to SQL Server. Download extension.
Some commands may require administrator privileges. In that case, prefix them with sudo:
sudo <command>
1. Install and Run SQL Server in Docker
Download Docker Desktop for Mac from docker.com and install it. Once Docker is running, you can use docker commands in the terminal to create, start, stop, and manage containers.
For additional context, see Microsoft's Quickstart: Install and connect to SQL Server in Docker.
1.1 Pull the SQL Server Image
Example - Pulling the SQL Server 2022 image:
docker pull --platform linux/amd64 mcr.microsoft.com/mssql/server:2022-latest
1.2 Run the Container
Example - Running SQL Server in a container:
docker run --platform linux/amd64 -d \
  -e "ACCEPT_EULA=Y" -e "MSSQL_SA_PASSWORD=@123Shesha" \
  -p 1433:1433 --name SQL_Server_Docker \
  mcr.microsoft.com/mssql/server:2022-latest
After running this command, SQL Server is running in a container with the following credentials:
| Field | Value |
|---|---|
User ID | sa |
Password | @123Shesha |
Port | 1433 |
The @123Shesha password is fine for local development but must be changed before exposing this container to any shared environment.
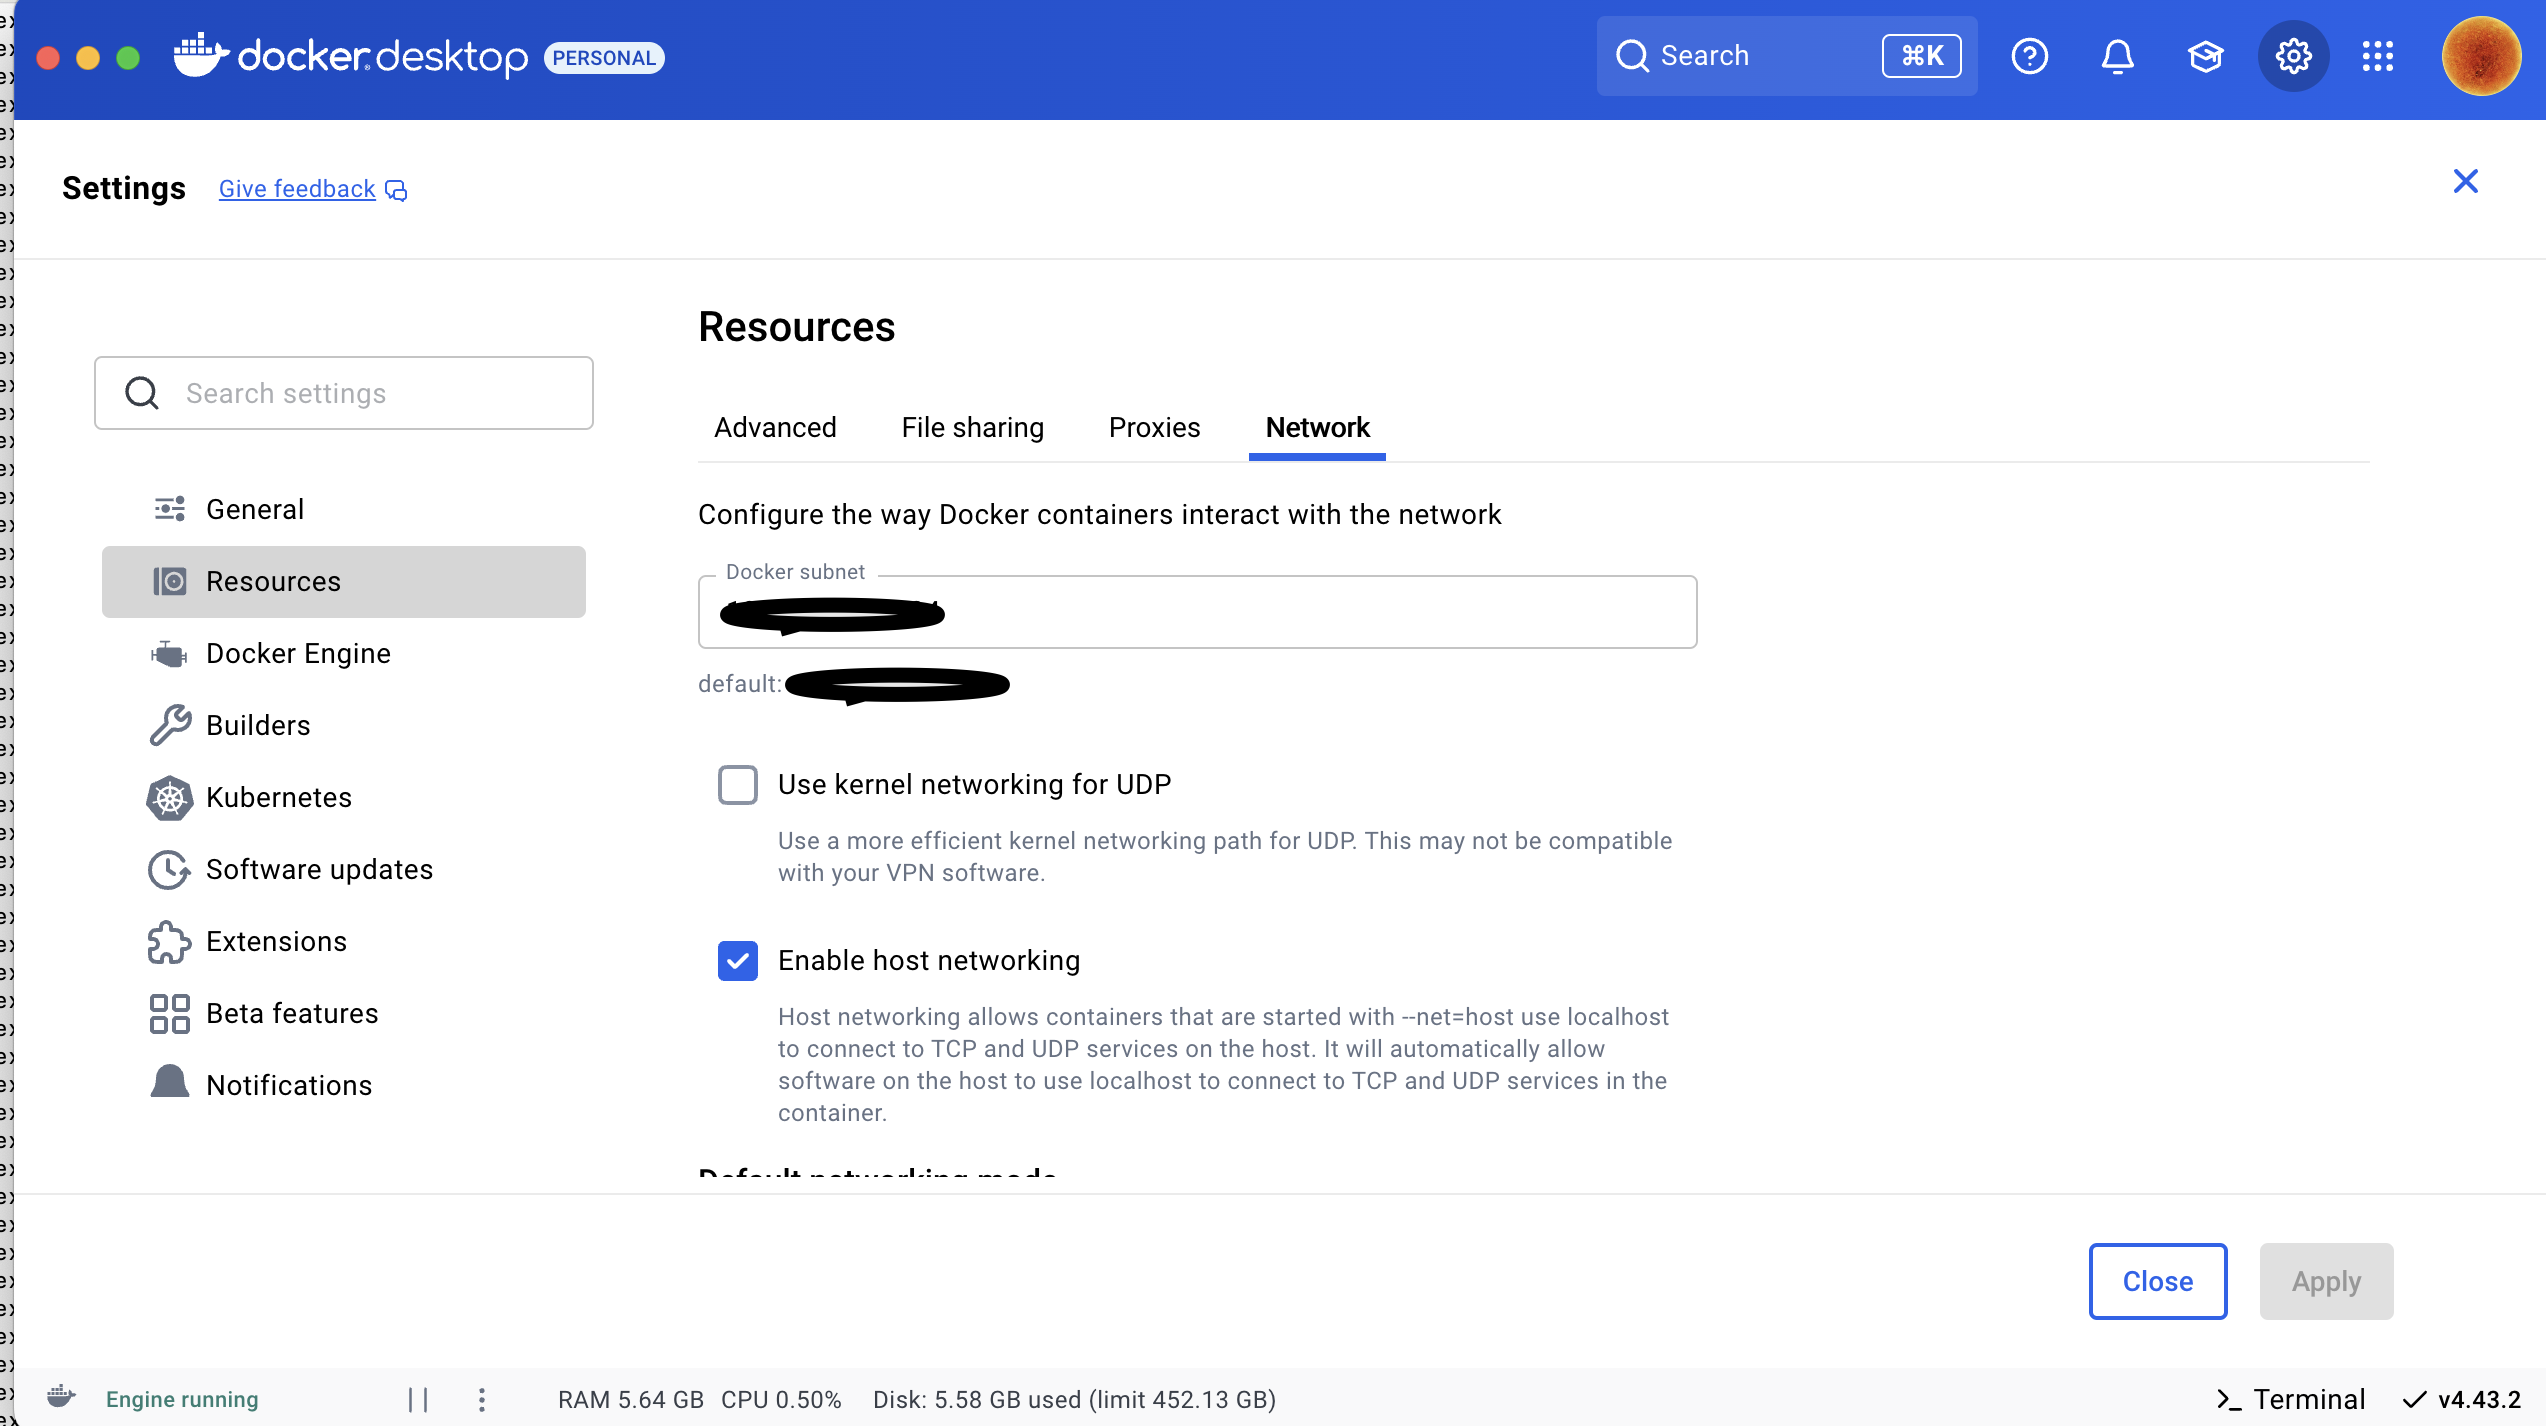
1.3 Enable Host Networking
In Docker Desktop, enable host networking so that your machine's network calls can reach the container's network.
2. Import the Starter Database
On Windows, SQL Server Management Studio's Import Data-tier Application wizard handles this. On Mac OS or Linux, you use SQL-Package instead.
2.1 Install .NET 8
If you do not already have it, download the Arm64 (Apple Silicon) or x64 (Intel) version from the .NET 8 download page.
2.2 Install SQL-Package
Important: Install version
162.4.92specifically. Newer versions of SQL-Package require .NET 10, which is incompatible with Shesha's .NET 8 backend. Installing without a version will pull the latest and silently fail.
dotnet tool install -g microsoft.sqlpackage --version 162.4.92
After installation, close your terminal and open a new one so that the sqlpackage command is available on your PATH.
For full details, see Microsoft's Install SQL-Package guide.
2.3 Download the Starter Project
- Download the Shesha Starter Template. The download contains:
| Piece | What it is |
|---|---|
Adminportal | React.js (Next.js) frontend |
Backend | ASP.NET Core backend |
Database | Seeded SQL Server .bacpac file |
- Unzip the project and note the directory path.
Replace OrganisationName and ProjectName in the commands below with the actual names you chose when generating the starter project.
2.4 Import the Database
In the unzipped project directory you will find a .bacpac file at a path like:
~/Downloads/<OrganisationName.ProjectName>/<ProjectName>.bacpac
Example - Restoring the bacpac into SQL Server:
sqlpackage /Action:Import \
  /SourceFile:"./Downloads/<OrganisationName.ProjectName>/<ProjectName>.bacpac" \
  /TargetConnectionString:"Server=localhost,1433;Initial Catalog=ProjectName;Persist Security Info=False;User ID=sa;Password=@123Shesha;MultipleActiveResultSets=False;Encrypt=True;TrustServerCertificate=True;Connection Timeout=30;"
Once the import completes, use any SQL Server client to verify that the database exists.
3. Run the Backend
3.1 Open the Backend in VS Code
Open the backend directory in your code editor.
3.2 Update Connection String
Edit appsettings.json in:
/src/OrganisationName.ProjectName.Web.Host/appsettings.json
The starter project ships with a Windows authentication connection string. Replace it with SQL authentication so it works with Docker on Mac:
{
  "ConnectionStrings": {
    "Default": "Server=localhost,1433;Initial Catalog=ProjectName;Persist Security Info=False;User ID=sa;Password=@123Shesha;MultipleActiveResultSets=False;Encrypt=True;TrustServerCertificate=True;Connection Timeout=30;"
  }
}
3.3 Build and Run
The backend directory looks roughly like this:
backend
├── src
├── nupkg
├── .nuget
├── test
└── ...
Example - Building the backend:
dotnet build
Example - Running the backend:
dotnet run --project src/OrganisationName.ProjectName.Web.Host \
  --urls "http://localhost:21021;https://localhost:44362"
If you do not already have a local development certificate, install and trust one:
dotnet dev-certs https --trust
4. Run the Frontend
Example - Installing and running the frontend:
cd adminportal
npm install
npm run dev
The frontend is now running locally and connected to your backend.
You're Ready to Go
Log in to the admin portal using the default credentials:
| Field | Value |
|---|---|
Username | admin |
Password | 123qwe |
The default admin / 123qwe credentials are intended for local development only. Change them before deploying any Shesha application to a shared environment.
From here, head over to the Tutorial: The Basics to walk through configuring your first view.