Setting Up
This guide walks you through getting a Shesha application running on your Windows machine for the first time. By the end you will have the starter project's backend, frontend, and seeded database all running locally, and you will be able to log in to your first Shesha app.
If you are on Mac OS or Linux, follow Mac OS / Linux Setup instead.
- SQL Server with SQL Server Management Studio (SSMS) installed and a local instance you can connect to.
- Visual Studio 2022 (Community edition is fine) for the backend.
- Visual Studio Code for the frontend.
- Node.js version 20.11.1 installed and available on your PATH.
1. Download the Shesha Starter Template
The starter template is a pre-configured solution that includes the backend, the frontend, and a seeded SQL Server database.
- Click the Get Started button on shesha.io.
- Provide the namespace parameters. No spaces are allowed in either input:
| Field | Example |
|---|---|
Organisation Name | Contoso |
Project Name | Membership |
The resulting namespace will start with Contoso.Membership.
The Organisation Name cannot be Shesha, since that name is reserved for the framework's own namespaces. Use your real organisation name instead.
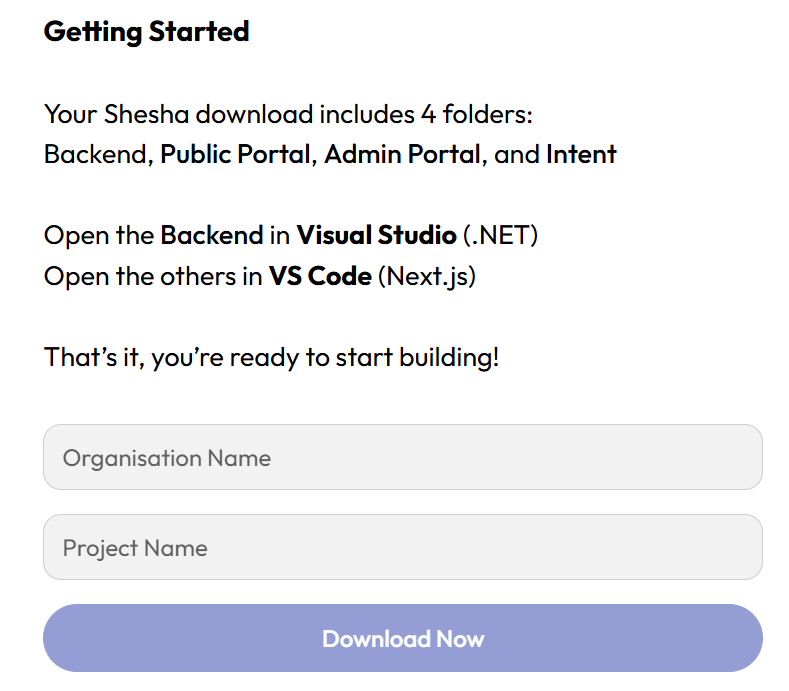
- Unzip the generated folder to your preferred destination.
The zip file contains three pieces:
| Piece | What it is |
|---|---|
Adminportal (Frontend) | A React.js (Next.js) solution that hosts the designer and configured pages. |
Backend | An ASP.NET Core solution with the API host, application layer, and domain layer. |
Database | A seeded SQL database with sample data |
2. Setup the Database
The starter ships its database as a .bacpac file. You restore it through SQL Server Management Studio.
- Open Microsoft SQL Server Management Studio.
- Connect to your local server (typically
localhost). - Right-click Databases.
- Select Import Data-tier Application... and click Next.
- Click Browse, locate your
Membership.bacpacfile, and click Next. - In the New database name field, type
Membershipand click Next. - Click Finish on the Summary step.
- Verify the import succeeded by expanding the new database, navigating to
Tables > dbo.Core_Persons, and selecting the top 1000 rows.
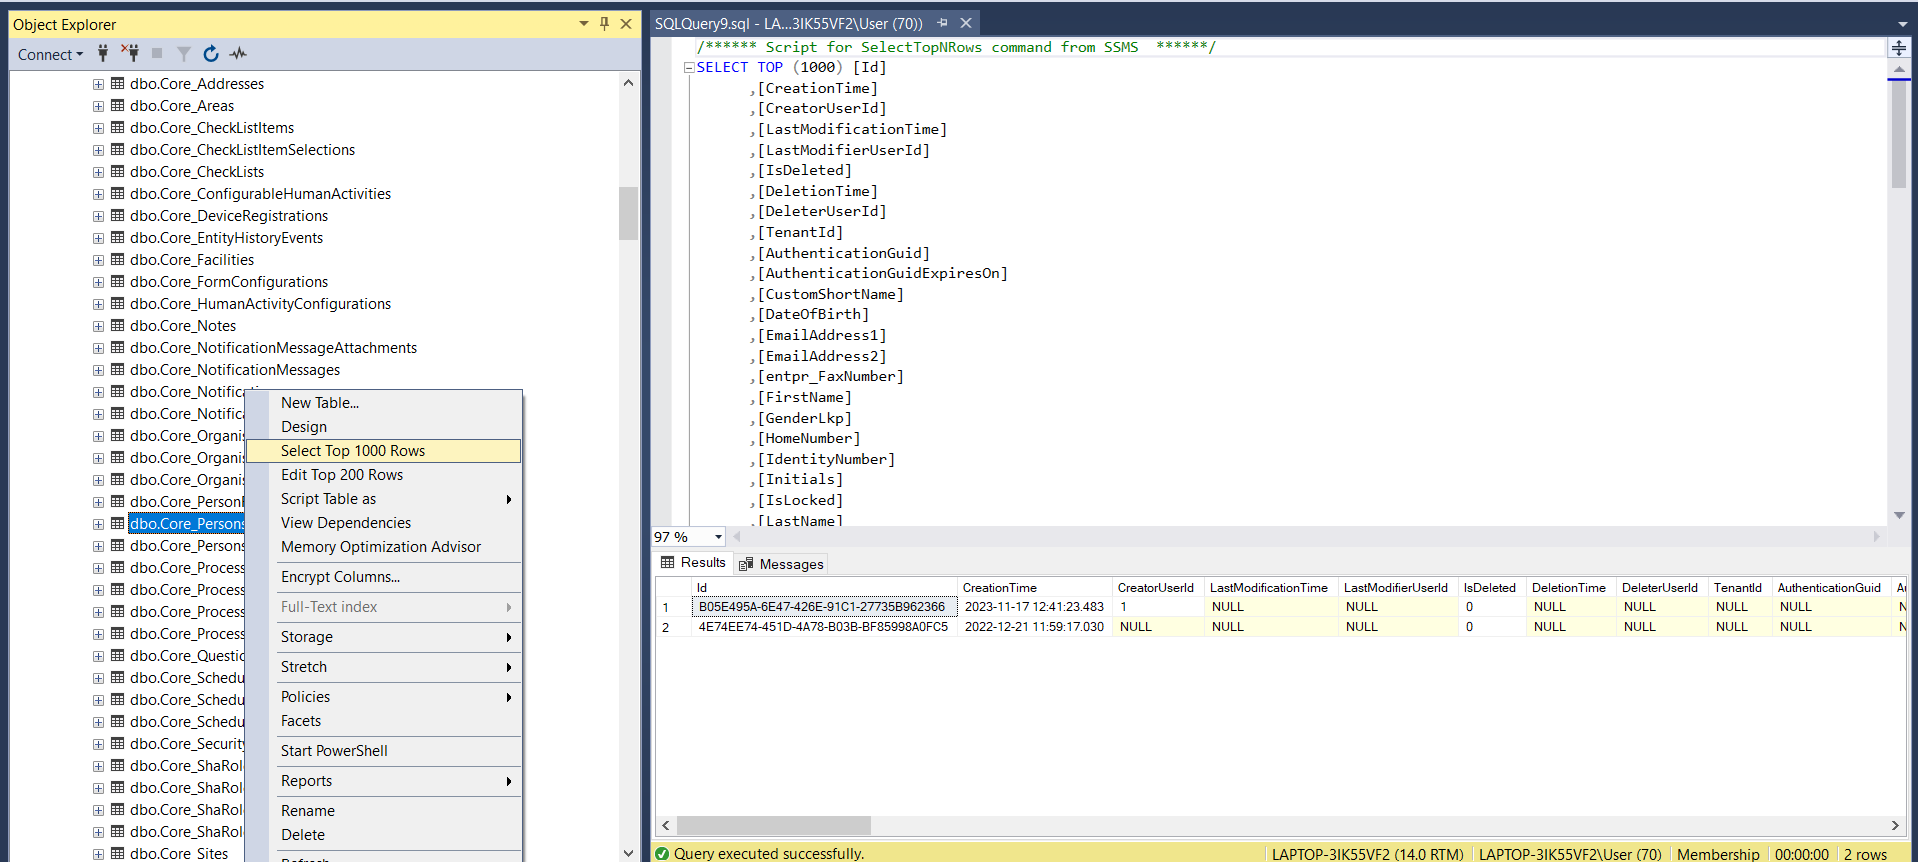
If you change the database name from Membership, you will need to update the connection string in the backend's appsettings.json to match.
3. Run the Backend
The backend is an ASP.NET Core solution that you open and run in Visual Studio 2022.
- Open the starter project folder.
- Navigate to the
backendfolder. - Double-click
Shesha.Membership.sln(or the equivalent name for your project) to open it in Visual Studio 2022. - Update the connection string only if you used a database name other than
Membership:
Example - Updating the connection string in appsettings.json:
{
  "ConnectionStrings": {
    "Default": "Server=localhost;Database=Membership;Trusted_Connection=True;TrustServerCertificate=True;"
  }
}
The file lives in the Shesha.Membership.Web.Host project.
- Run the application by selecting Debug > Start Debugging, or by pressing F5.
The application should open in your browser on the default Swagger API page.
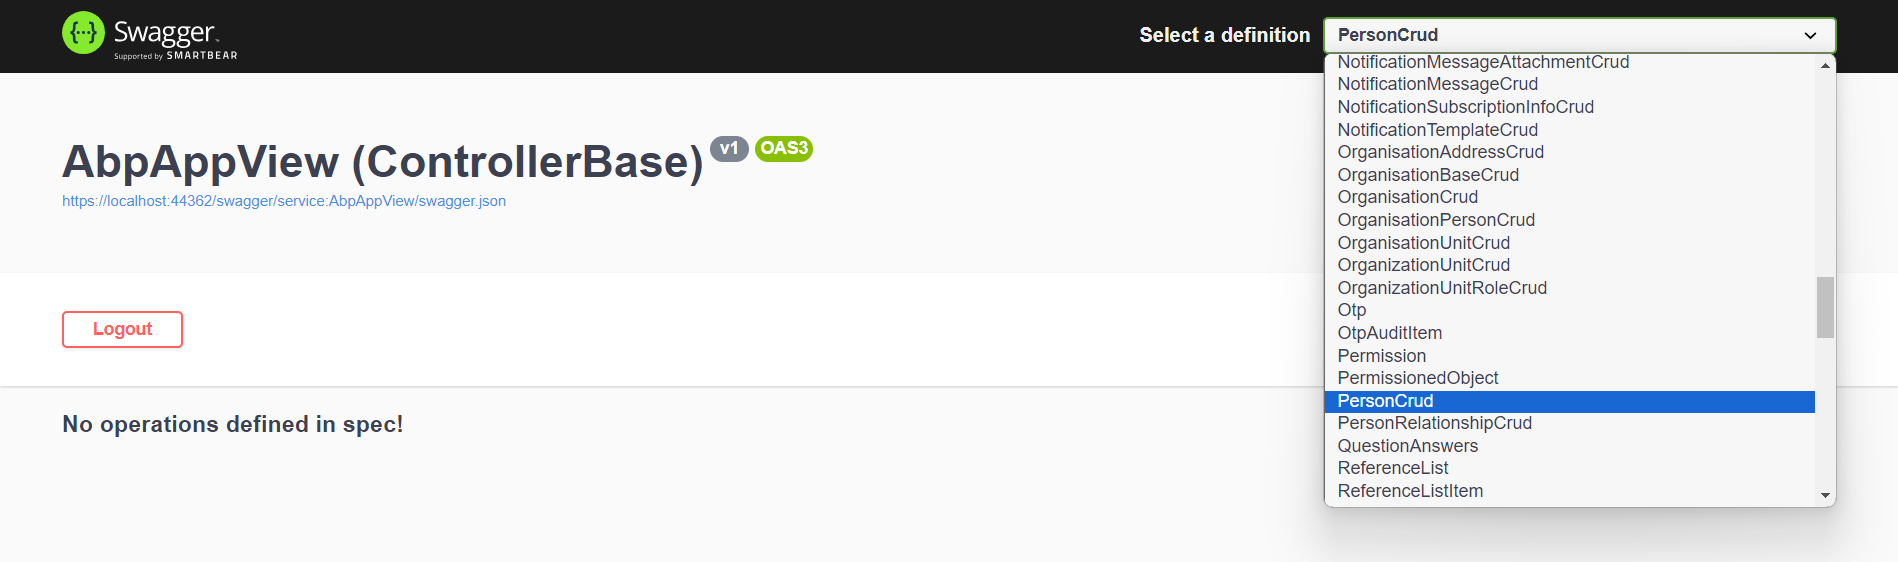
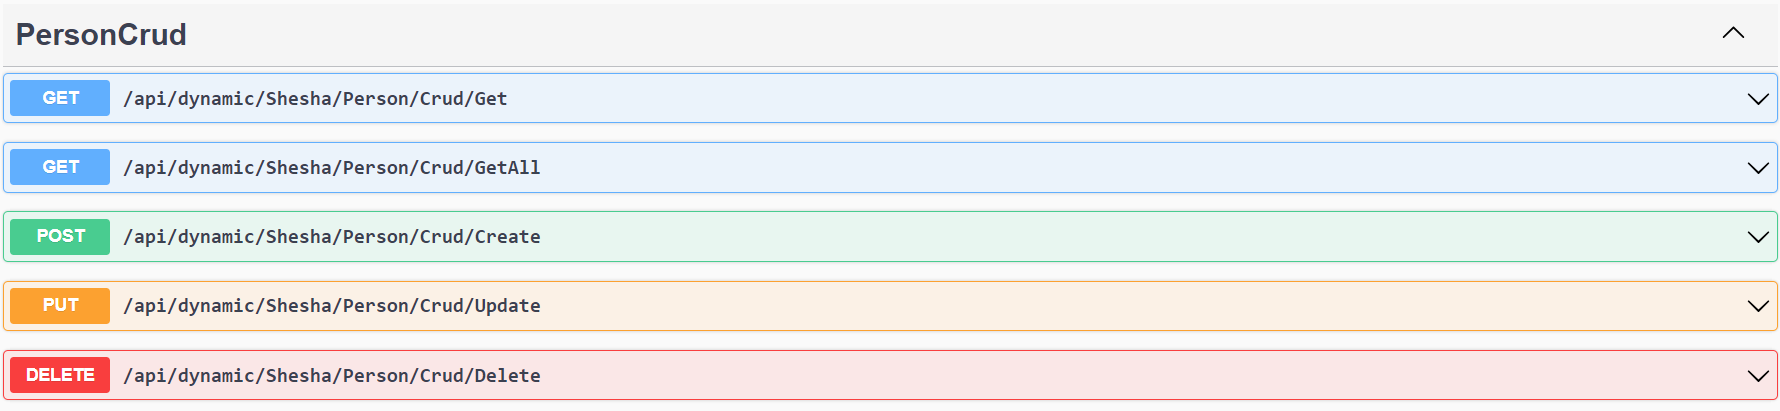
The first time the backend starts up, it applies all migrations and bootstraps the configuration items. Subsequent runs are much faster.
4. Run the Frontend
The frontend is a Next.js application that you run from Visual Studio Code.
- Open Microsoft Visual Studio Code.
- Choose File > Open Folder and open the
adminportalfolder from your downloaded starter project. - Open a new terminal via Terminal > New Terminal.
- Confirm Node.js version 20.11.1 is installed:
Example - Checking the Node.js version:
node -v
- Install the dependencies:
Example - Installing frontend dependencies:
npm install
- Start the development server:
Example - Running the frontend:
npm run dev
- Log in to the admin portal using the default credentials:
| Field | Value |
|---|---|
Username | admin |
Password | 123qwe |
Once logged in you have your first Shesha application running. The home page should look like this:
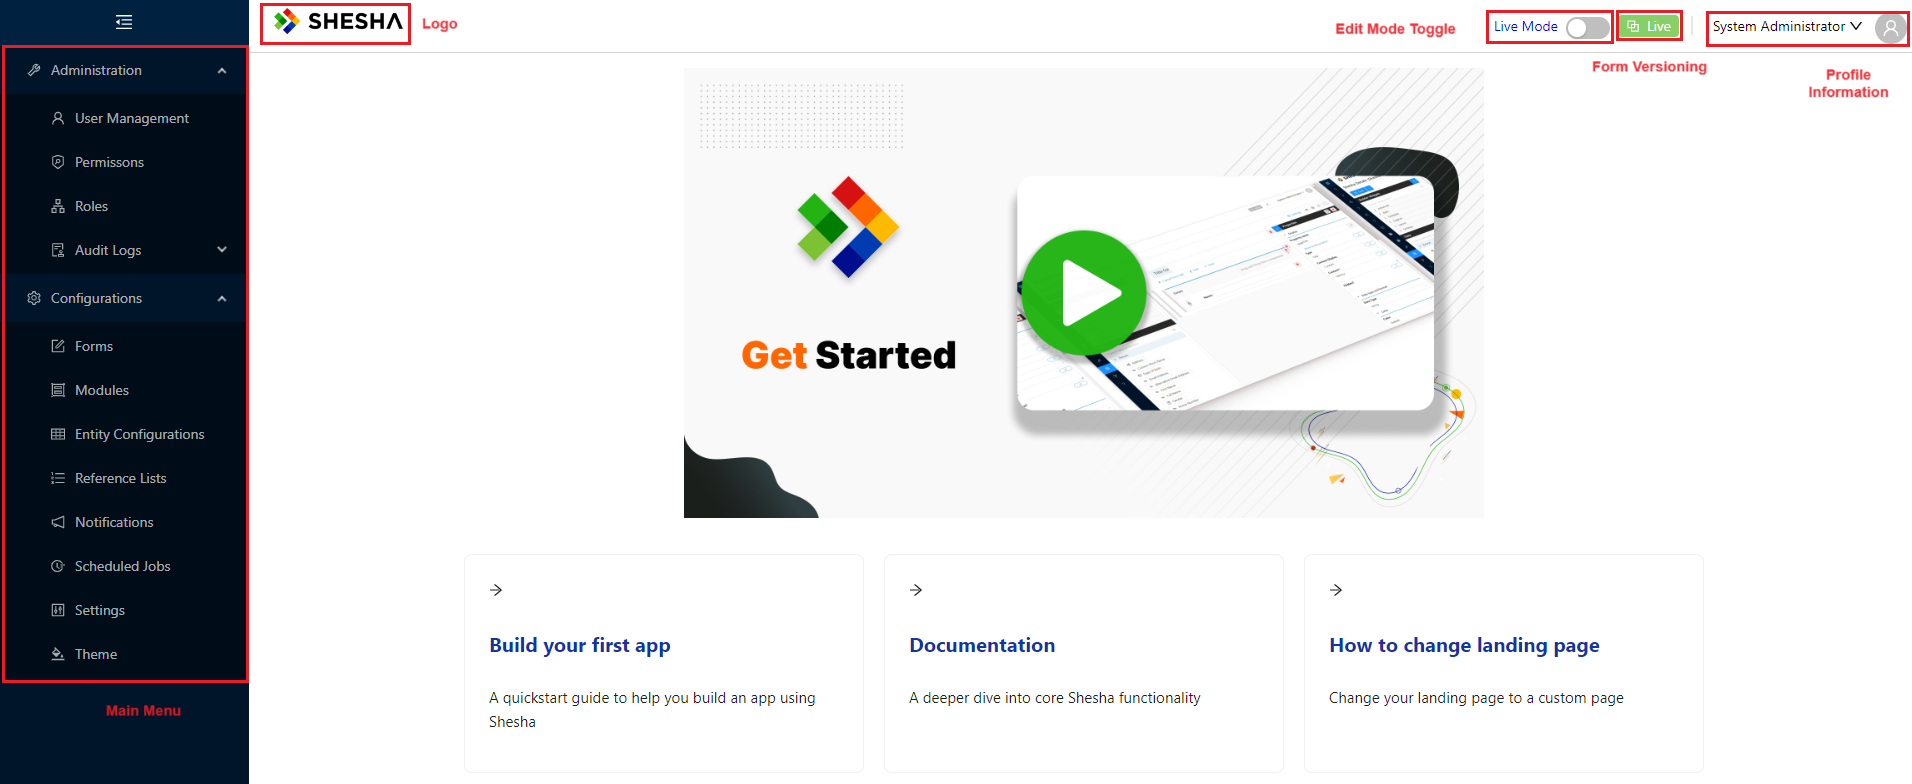
The default admin / 123qwe credentials are intended for local development only. Change them before deploying any Shesha application to a shared environment.
Next Steps
Now that the starter is running, head over to the Tutorial: The Basics to walk through configuring your first view, extending the domain model, adding a child table, and calling a custom API.