Creating a New Front End Application in Shesha
This guide walks you through the process of creating a new front end application in your Shesha project.
Table of Contents
- Overview
- Step 1: Duplicate the AdminPortal Folder
- Step 2: Update Package Configuration
- Step 3: Create Backend Migration for Application Key
- Step 4: Update Application Provider Configuration
- Step 5: Install Dependencies and Test
Overview
Shesha allows you to create multiple frontend applications within a single project. Each frontend application can serve different purposes (e.g., public portal, customer portal, admin portal).
Common use cases:
- Creating a public-facing portal separate from the admin interface
- Setting up a customer/client portal
- Building specialized interfaces for different user roles
Step 1: Duplicate the AdminPortal Folder
1.1 Copy the Folder
Navigate to your project root directory and duplicate the adminportal folder:
# In your project root directory
cp -r adminportal publicportal
Or use your file explorer to copy and paste the folder.
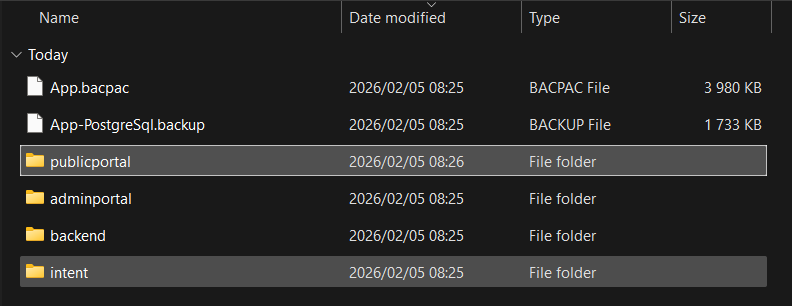
1.2 Verify the Folder Structure
After duplication, your project structure should look like this:
Sample.App/
├── adminportal/
├── publicportal/          ← New folder
├── backend/
├── intent/
└── docs/
💡 Tip: Choose a meaningful name for your new application folder (e.g.,
customerportal,publicportal,vendorportal) that reflects its purpose.
Step 2: Update Package Configuration
2.1 Update package.json
Open publicportal/package.json and update the name field:
Before:
{
  "name": "@shesha-io/starter",
  "version": "0.0.1",
  "private": false,
  ...
}
After:
{
  "name": "@shesha-io/sample-publicportal",
  "version": "0.0.1",
  "private": false,
  ...
}
2.2 Update Layout Configuration (Optional)
You can customize the layout settings for your new portal by editing the layout configuration file.
Location: publicportal/src/app-constants/layout.ts
This file contains constants that control your application's layout mode, header, login page, and footer. You can modify these existing constants to customize your portal:
Available constants to update:
/** The layout mode to use throughout the application */
export const LAYOUT_MODE: LayoutMode = "defaultLayout";
// Options: 'defaultLayout' (sidebar) or 'horizontalLayout' (top navigation)

/** The header form to display in the layout */
export const ACTIVE_HEADER: FormFullName = HEADER_CONFIGURATION;
// Options: HEADER_CONFIGURATION (admin), HEADER_PUB_PORTAL_CONFIGURATION (public), or custom form

/** The login form to display on the login page */
export const ACTIVE_LOGIN: FormFullName = LOGIN_CONFIGURATION;
// Options: LOGIN_CONFIGURATION (admin), LOGIN_PUB_PORTAL_CONFIGURATION (public), or custom form

/** The footer form to display in the layout */
export const ACTIVE_FOOTER: FormFullName = null;
// Options: null (no footer), FOOTER_CONFIGURATION (standard), or custom form
💡 Available Shesha Form Configurations:
HEADER_CONFIGURATION- Standard admin headerHEADER_PUB_PORTAL_CONFIGURATION- Public portal headerLOGIN_CONFIGURATION- Standard admin loginLOGIN_PUB_PORTAL_CONFIGURATION- Public portal loginFOOTER_CONFIGURATION- Standard footer
Example customization:
Option 1: Use Shesha's built-in public portal forms
Import the public portal configurations at the top of the file:
import {
  LayoutMode,
  FormFullName,
  HEADER_PUB_PORTAL_CONFIGURATION,
  LOGIN_PUB_PORTAL_CONFIGURATION,
  FOOTER_CONFIGURATION,
} from "@shesha-io/reactjs";
Then update the constants:
export const LAYOUT_MODE: LayoutMode = "horizontalLayout"; // Changed from 'defaultLayout'
export const ACTIVE_HEADER: FormFullName = HEADER_PUB_PORTAL_CONFIGURATION;
export const ACTIVE_LOGIN: FormFullName = LOGIN_PUB_PORTAL_CONFIGURATION;
export const ACTIVE_FOOTER: FormFullName = FOOTER_CONFIGURATION;
Option 2: Use custom forms you created in the Forms Designer
export const ACTIVE_HEADER: FormFullName = {
  module: "Shesha",
  name: "custom-public-header",
};
export const ACTIVE_LOGIN: FormFullName = {
  module: "Shesha",
  name: "custom-public-login",
};
export const ACTIVE_FOOTER: FormFullName = {
  module: "Shesha",
  name: "custom-public-footer",
};
💡 Tip: These settings are optional and only need to be changed if you want to customize the look and feel of your new portal to differentiate it from the admin portal.
⚠️ Note: To use custom forms, create them in the Forms Designer first, then update these constants to reference your custom form using the format:
{module: 'YourModule', name: 'form-name'}.
Step 3: Create Backend Migration for Application Key
3.1 Understanding Application Keys
Each Shesha frontend application needs to be registered in the backend database with a unique application key. This key is used to:
- Identify the application in the system
- Associate forms and configurations with the specific frontend
- Manage permissions and access control
3.2 Create the Migration File
In the backend project, create a new migration file in the Migrations folder:
Location: backend/src/Module/Sample.App.Domain/Migrations/
File naming convention: M[YYYYMMDDHHMMSSff].cs
Example: M20260205160000.cs
3.3 Migration Template
Here's a complete migration template:
using FluentMigrator;
using Shesha.FluentMigrator;

namespace Sample.App.Domain.Migrations
{
    [Migration(20260205085000)]
    public class M20260205085000 : OneWayMigration
    {
        /// <summary>
        /// Adds new Public Portal frontend application
        /// </summary>
        public override void Up()
        {
            Execute.Sql(@"
                IF NOT EXISTS (
                    SELECT 1
                    FROM [frwk].[front_end_apps]
                    WHERE [app_key] = 'sample-publicportal'
                )
                BEGIN
                    INSERT INTO [frwk].[front_end_apps]
                    (
                        [id],
                        [creation_time],
                        [creator_user_id],
                        [is_deleted],
                        [tenant_id],
                        [name],
                        [description],
                        [app_key]
                    )
                    VALUES
                    (
                        NEWID(),
                        GETDATE(),
                        NULL,
                        0,
                        NULL,
                        'Sample Public Portal',
                        'Sample public-facing portal application',
                        'sample-publicportal'
                    )
                END
            ");
        }
    }
}
3.4 Key Points About the Migration
- Migration Number: Use a timestamp-based number (YYYYMMDDHHmmssff) to ensure unique migration ordering
- AppKey: Use lowercase, no spaces (e.g.,
sample-publicportal,customerportal) - GUID Generation: The
NEWID()function generates a unique identifier in SQL Server
3.5 Apply the Migration
After creating the migration file in backend/src/Module/Sample.App.Domain/Migrations/:
# Navigate to the backend directory
cd backend

# Build the solution
dotnet build

# Run the application - FluentMigrator migrations run automatically on startup
dotnet run --project src/Sample.App.Web.Host
⚠️ Important: The migration will run automatically when the backend starts. Ensure your database connection string is correctly configured in
appsettings.json.
Step 4: Update Application Provider Configuration
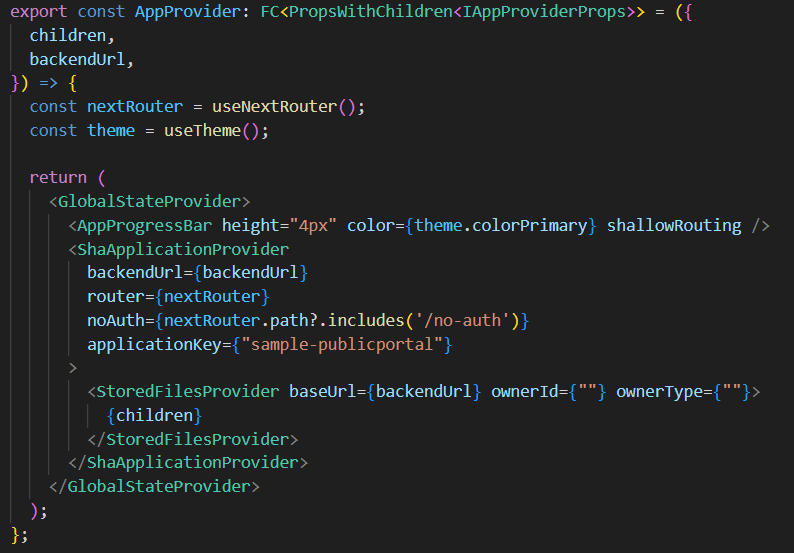
4.1 CRITICAL: Update the ShaApplicationProvider
After creating the migration, you MUST update the application provider in your new portal to specify the application key. This is a required step!
Location: publicportal/src/app/app-provider.tsx
Before:
export const AppProvider: FC<PropsWithChildren<IAppProviderProps>> = ({
  children,
  backendUrl,
}) => {
  const nextRouter = useNextRouter();
  const theme = useTheme();

  return (
    <GlobalStateProvider>
      <AppProgressBar height="4px" color={theme.colorPrimary} shallowRouting />
      <ShaApplicationProvider
        backendUrl={backendUrl}
        router={nextRouter}
        noAuth={nextRouter.path?.includes('/no-auth')}
      >
        <StoredFilesProvider baseUrl={backendUrl} ownerId={""} ownerType={""}>
          {children}
        </StoredFilesProvider>
      </ShaApplicationProvider>
    </GlobalStateProvider>
  );
};
After:
export const AppProvider: FC<PropsWithChildren<IAppProviderProps>> = ({
  children,
  backendUrl,
}) => {
  const nextRouter = useNextRouter();
  const theme = useTheme();

  return (
    <GlobalStateProvider>
      <AppProgressBar height="4px" color={theme.colorPrimary} shallowRouting />
      <ShaApplicationProvider
        backendUrl={backendUrl}
        router={nextRouter}
        applicationKey={"sample-publicportal"}  // ⚠️ ADD THIS LINE
        noAuth={nextRouter.path?.includes('/no-auth')}
      >
        <StoredFilesProvider baseUrl={backendUrl} ownerId={""} ownerType={""}>
          {children}
        </StoredFilesProvider>
      </ShaApplicationProvider>
    </GlobalStateProvider>
  );
};
⚠️ CRITICAL: The
applicationKeyproperty value MUST match theapp_keyvalue you used in the backend migration (e.g.,'sample-publicportal'). Without this, the application will not be properly identified in the Shesha system.
Step 5: Install Dependencies and Test
5.1 Clean and Install Dependencies
# Navigate to the new portal directory
cd publicportal

# Remove old node_modules and lock files (optional but recommended)
rm -rf node_modules package-lock.json .next

# Install dependencies
npm install
5.2 Run Development Server
npm run dev
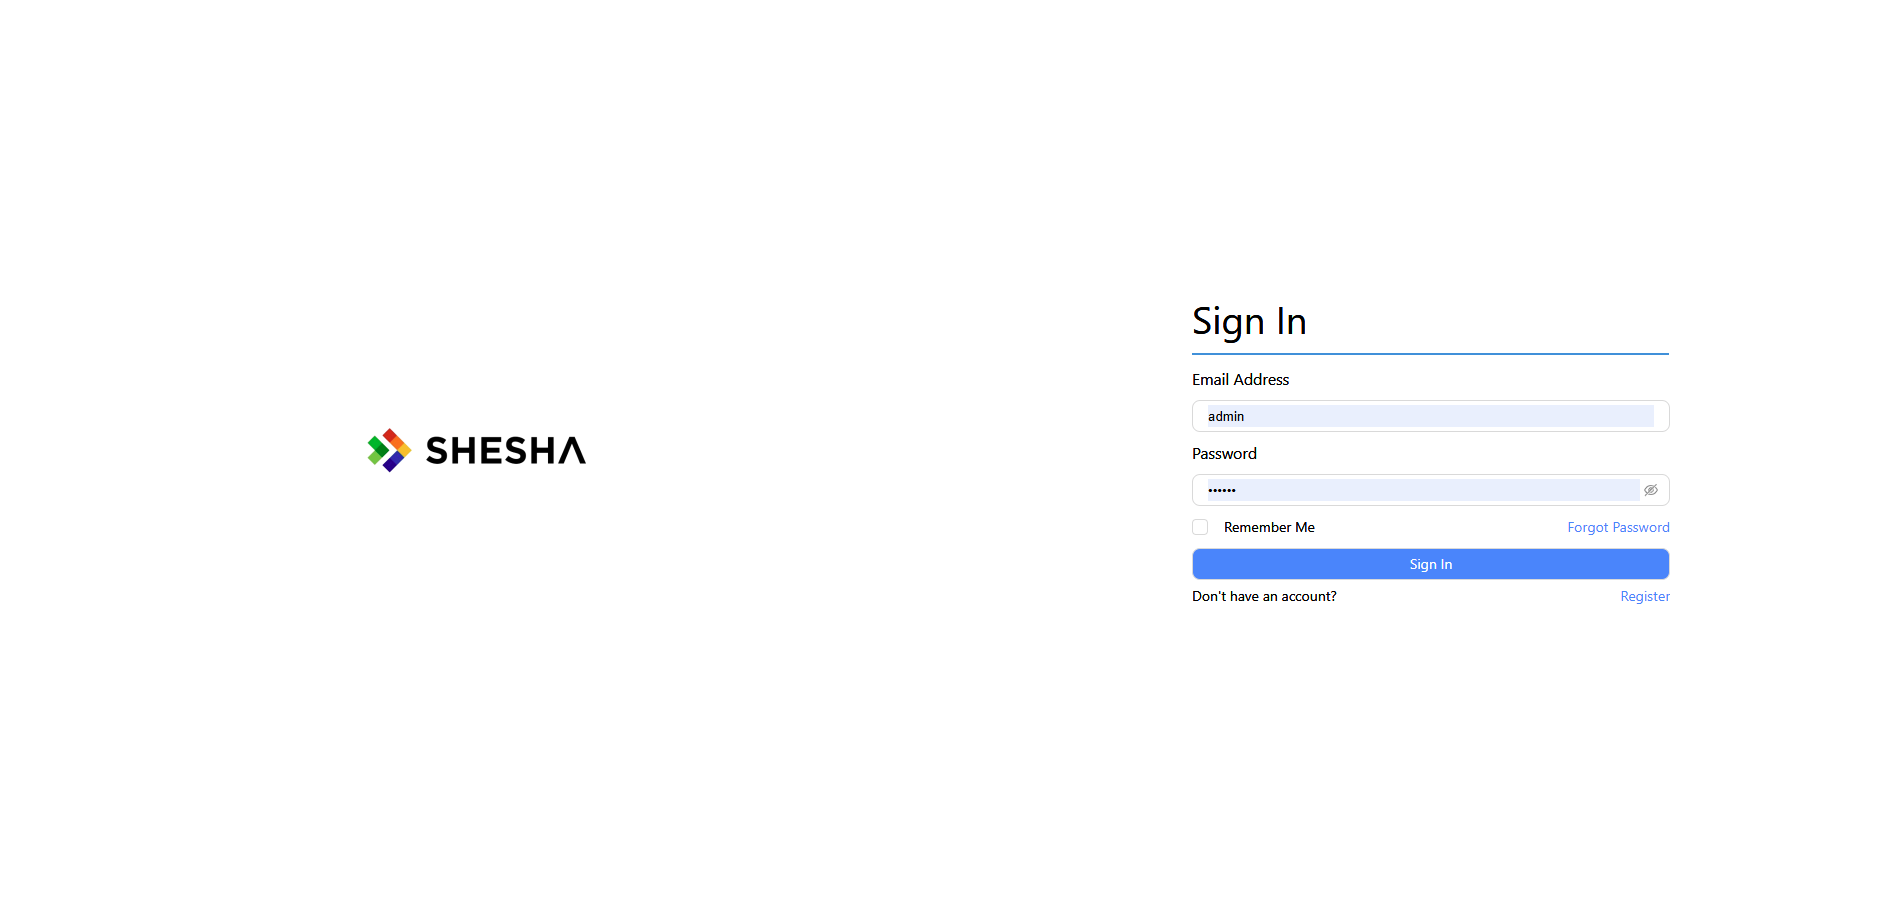
5.3 Verify in Browser
Open your browser and navigate to http://localhost:3000 (or http://localhost:3001 if using a different port)
You should see your new Public Portal application running.
5.4 Verify Application Key Registration
To confirm the application key is properly registered:
- Log into the backend database
- Run this query:
SELECT * FROM frwk.front_end_apps WHERE app_key = 'sample-publicportal';
You should see a record with:
- app_key:
sample-publicportal - Name:
Sample Public Portal - Description:
Sample public-facing portal application
💡 Tip: If you don't see the record, ensure the migration ran successfully by checking the backend logs.
Additional Resources
Summary
You've successfully created a new frontend application in your Shesha project by:
- ✅ Duplicating the
adminportalfolder topublicportal - ✅ Updating configuration files (package.json, app constants)
- ✅ Creating a FluentMigrator migration in
backend/src/Module/Sample.App.Domain/Migrations/to register the application key - ✅ Adding the
applicationKeyproperty toShaApplicationProviderinpublicportal/src/app/app-provider.tsx(Critical step!) - ✅ Installing dependencies and testing the new application
Your new frontend is now ready for customization and development!
Quick Reference Checklist
When creating a new frontend application named [portalname]:
- Duplicate
adminportal→[portalname] - Update
package.jsonname field - (Optional) Update
src/app-constants/layout.tsto customize login form, header, footer, and layout - Create migration file:
backend/src/Module/Sample.App.Domain/Migrations/M[timestamp].cs - Set AppKey in migration to
'[portalname]'(lowercase, no spaces) - Update
src/app/app-provider.tsxto addapplicationKey="[portalname]"to ShaApplicationProvider - Run
npm installin the new portal directory - Start backend to apply migration
- Run
npm run devin the new portal - Verify application in browser
- Verify database record exists in frwk_front_end_apps table
Last Updated: February 11, 2026